Scroll saws are powerful tools for woodworkers, DIY fans, and crafters. They let you make detailed designs, precise cuts, and intricate fretwork in many materials. Learning how to use a scroll saw right is key to making top-quality projects. This guide will cover the main parts of a scroll saw, choosing the right blade, setting up your workspace, basic and advanced cutting methods, keeping your saw in good shape, and project ideas to improve your skills.
Key Takeaways
- Understand the essential parts of a scroll saw and their functions
- Learn how to choose the right blade for your project and material
- Discover techniques for making basic and interior scroll cuts
- Explore the stacked cutting method for increased efficiency
- Maintain your scroll saw with cleaning and lubrication
- Gain inspiration from a variety of scroll saw project ideas
- Develop essential safety practices when using a scroll saw
Anatomy of a Scroll Saw
Before you start with scroll sawing, get to know the main parts of a scroll saw. These scroll saw parts and scroll saw features are key for smooth and precise cuts.
Table Tilt Adjustment
The table tilt adjustment is a must-have for scroll saws. It lets you set the saw table at an angle. This is perfect for bevel cutting on complex projects.
Blade Tension Knob
The blade tension knob helps control the saw blade’s flexibility. Adjusting it keeps the blade tight and ready for clean, accurate cuts.
Workpiece Drop Foot
The workpiece drop foot is like a guard for the blade. It keeps the material steady and stops it from falling into the blade while cutting.
Workpiece Foot Lock
The workpiece foot lock works with the drop foot to keep the material in place. It makes sure the material stays steady during cutting.
Speed Adjustment Knob
The speed adjustment knob lets you change the saw’s speed. This is important for adjusting to different materials and blades.
Knowing these important scroll saw components and scroll saw controls will help you get better at scroll sawing. You’ll be able to make detailed projects with precision and confidence.
Choose the Right Blade
Choosing the right scroll saw blade is key for top-notch cutting results. The blade’s width, tooth count, and what it can cut through matter a lot. Knowing about scroll saw blade types helps you pick the best one.
For thin materials and detailed cuts, go for narrower, finer blades. For thicker wood and wider curves, use wider blades. A #5 or #7 scroll saw blade size is good for up to 1-inch thick wood. A #9 blade is better for thicker and harder materials.
| Blade Characteristics | Suitable Applications |
|---|---|
| Narrow, Fine Blades (Low #) | Thin materials, intricate scroll cuts |
| Wider Blades (High #) | Thicker wood, broader curves |
The scroll saw blade radius is also crucial. A smaller radius is great for tight turns and complex patterns. A larger radius is better for wide curves. Always check the recommended thickness and radius for your scroll saw blades.
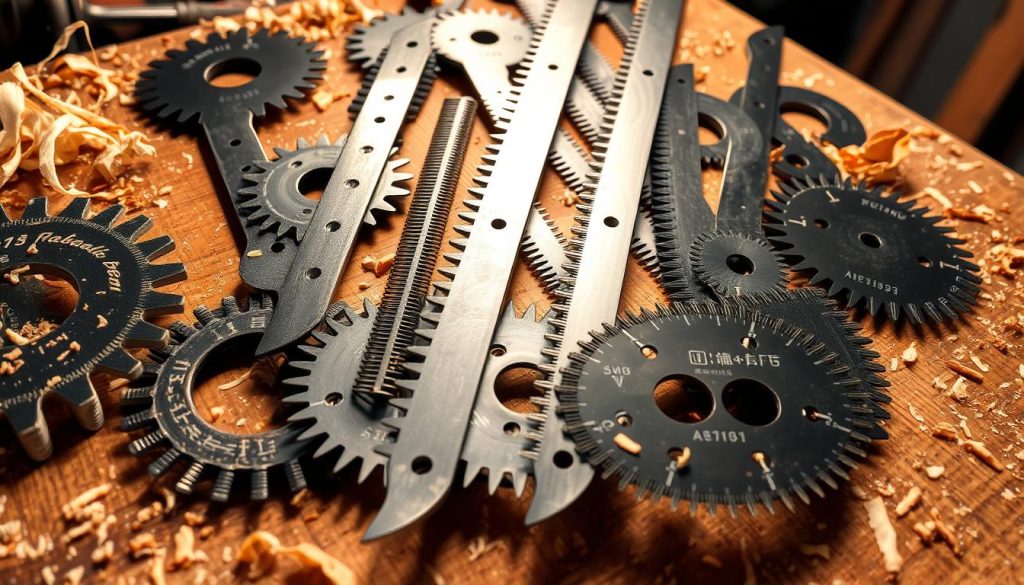
With the right scroll saw blade selection, your scroll saw can do amazing things. You can make beautiful, detailed projects.
Install the Blade
Putting the scroll saw blade in correctly is key for safe and efficient use of your tool. Here’s a simple guide on how to do it right:
- Line up the two holes at the top of the blade with the screws on the upper and lower holders.
- Make sure the teeth face forward and point down.
- Use a screwdriver to tighten the screws and keep the blade secure.
After installing the blade, adjust the tension right. The scroll saw blade tension should be just right. Too tight can break the blade, and too loose might bend it or wear it out fast. Use the scroll saw blade tension knob to get it right, so the blade is tight but not too hard.
Getting the scroll saw blade in right and setting the tension is key for safe and efficient use. By following these steps, you make sure your blade is set and ready for your next project.
Prepare Your Workspace
Creating detailed scroll saw projects needs a tidy and safe area. It’s key to have good lighting and ventilation in your workshop. A strong work light helps you see what you’re doing and lowers the chance of mistakes. Open windows or fans keep the dust and debris from the sawing out of the way.
Safety Equipment
Putting scroll saw safety first is a must. Use personal protective equipment (PPE) to lower injury risks. This means wearing safety glasses for your eyes, hearing protection to block the saw’s noise, and cut-resistant gloves for your hands. With these steps, you’ll have a safe scroll saw workspace setup and can work with confidence.
“Proper safety gear and a well-designed scroll saw workshop are the foundations of an enjoyable and productive scrolling experience.”
Focus on lighting, ventilation, and safety equipment in your space for a better work area. This care makes your scroll saw projects more enjoyable and helps you finish them safely and successfully.
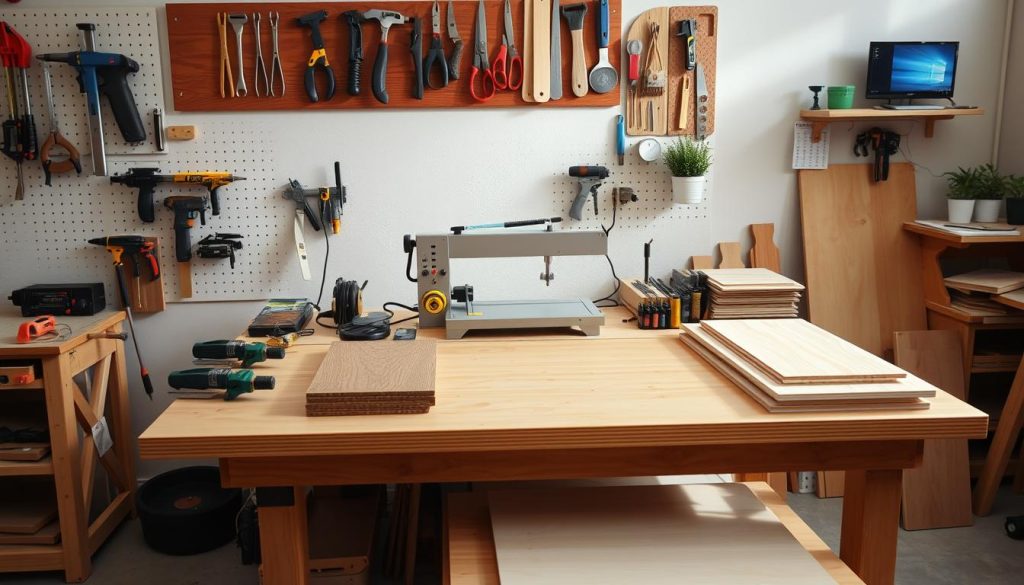
Get Your Materials Ready
Getting your materials ready is key before starting a scroll saw project. Collect the scroll saw project materials you need, like wood or plywood. Use a tape measure and pencil to measure and mark the workpiece. This makes sure your design has the right dimensions.
If your design is complex, think about using a scroll saw pattern transfer method. Stick a spray-adhesive pattern to the workpiece to guide your cuts. This way, your cuts will match the design perfectly, making your project look professional.
- Measure and mark the workpiece using a tape measure and pencil
- Attach a spray-adhesive pattern to the workpiece for complex designs
- Utilize the pattern as a guide during the cutting process
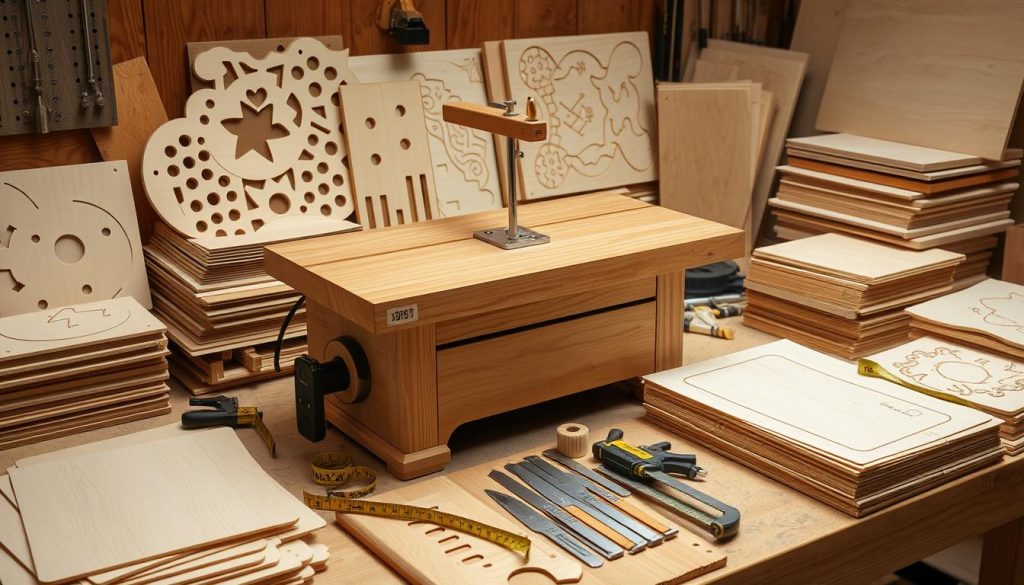
Remember, spending time to prepare your scroll saw workpiece is worth it. It leads to cleaner, more precise cuts and a better project outcome.
Make Basic Scroll Cuts
Learning to make basic scroll saw cuts is key to making beautiful projects. It doesn’t matter if you’re using a pattern or cutting freehand. Knowing the right techniques is crucial for clean, precise cuts.
Following the Pattern Line
It’s important to follow the pattern line closely. Push and turn the workpiece at the same time, keeping the blade right on the line. This helps you go through tight corners and curves smoothly.
Cutting Outside the Line
It’s best to cut a bit outside the pattern line. This makes it easier to sand and smooth out the edges later. Remember to think about the blade’s width and adjust your cuts to keep your design looking good.
Bevel Cutting
To make angled cuts, tilt the drop foot of your scroll saw to match the table’s bevel angle. This keeps the surface flat against the workpiece for clean cuts. Try different bevel angles to add depth and interest to your projects.
Patience and practice are important for getting good at scroll saw basics. Get to know your saw well and adjust your methods as needed for the best results.
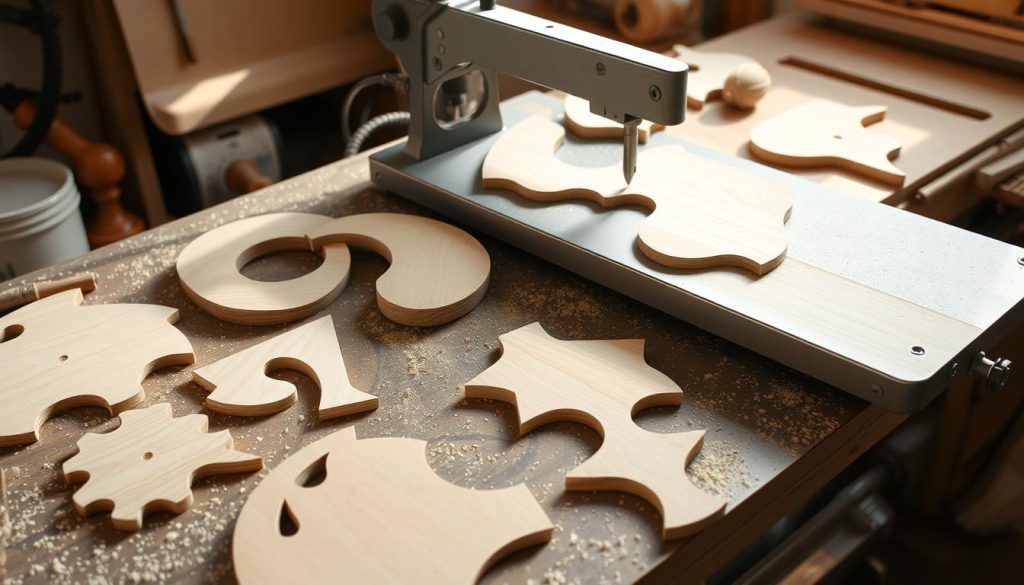
“The key to successful scroll saw projects is to take your time and focus on the details. With practice, you’ll be able to create intricate and visually stunning pieces.”
Make Interior Scroll Cuts
Making precise interior cuts is key to creating beautiful scroll saw projects. This technique lets woodworkers craft stunning fretwork designs. By learning to drill entry holes and move the workpiece, you can make your scroll saw projects stand out.
Drilling Entry Holes
To begin an interior cut, drill a small hole along the line you want to cut. Use a Flying Dutchman Spirals 2/0 blade and a #68 drill bit. Make sure the blade tension is set between 4 – 4 ½ for control and precision.
Place the workpiece on the saw table with the hole over the access hole. Then, insert the blade through the hole. Adjust the drop foot and blade tension to keep the material stable.
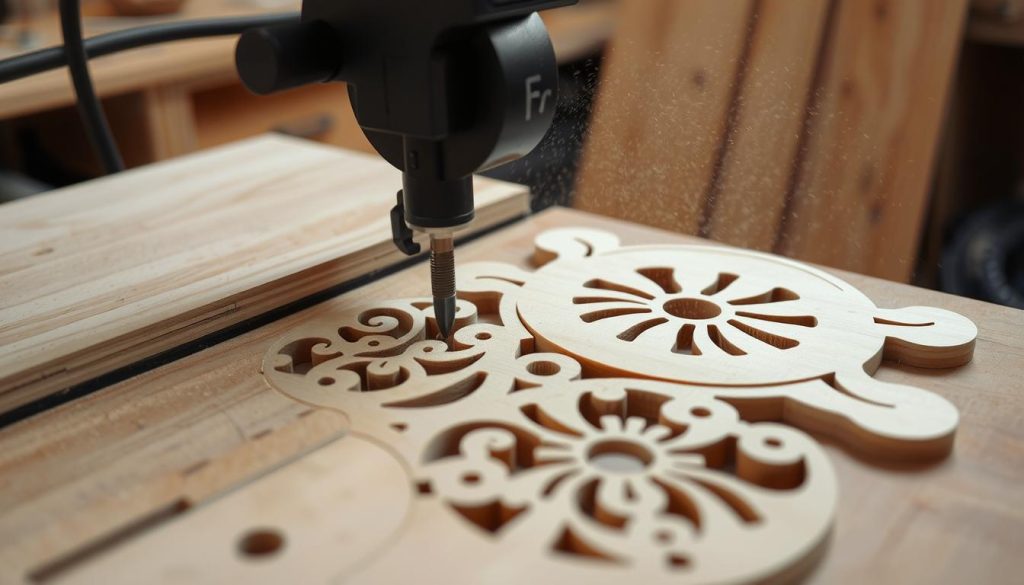
Slowly push and turn the material along the pattern lines to create your scroll saw fretwork. Spiral blades are great for tight corners, making detailed designs easy to cut.
Keeping the blade properly tensioned and controlling the feed rate is key. This helps you make straight cuts and avoids blade breakage. For long, straight lines, increase the feed rate to cut faster without losing quality.
After cutting, use an air compressor at 40 PSI to clean off dust or debris. If there’s fuzziness, use a torch on a low setting to burn it off. Then, lightly sand if needed.
Stacked Cutting Technique
Looking to boost your scroll saw skills? The stacked cutting technique is a must-try. It lets you work on several pieces at once, saving time and effort. Just stick the layers together with double-sided or masking tape and cut as one.
For most designs, a 2/0 spiral blade with a #68 drill bit works best. Make sure to set your Dewalt saw to 4 – 4 ½ for the blade tension. This setting helps you cut tight corners with ease.
When doing scroll saw stacked cutting, dust removal is key. An air compressor at 40 PSI can clear dust from the front and back of your work. This keeps your workspace clean and your cuts accurate.
For framing your cuts, Aleene’s tacky glue is the go-to adhesive. Use it to stick the backer board in place. To remove the pattern, soak the paper in an old Windex bottle filled with mineral spirits for 5 minutes before peeling it off.
The scroll saw multi-layer cutting method uses tabs or ears. Before cutting, drive nails near the pattern. This way, you don’t need to hold the stack together for most of the cuts. It’s a smarter alternative to using small nails or tape.
By using these tips, you can improve your scroll saw efficiency. Your scroll saw projects will reach new heights.
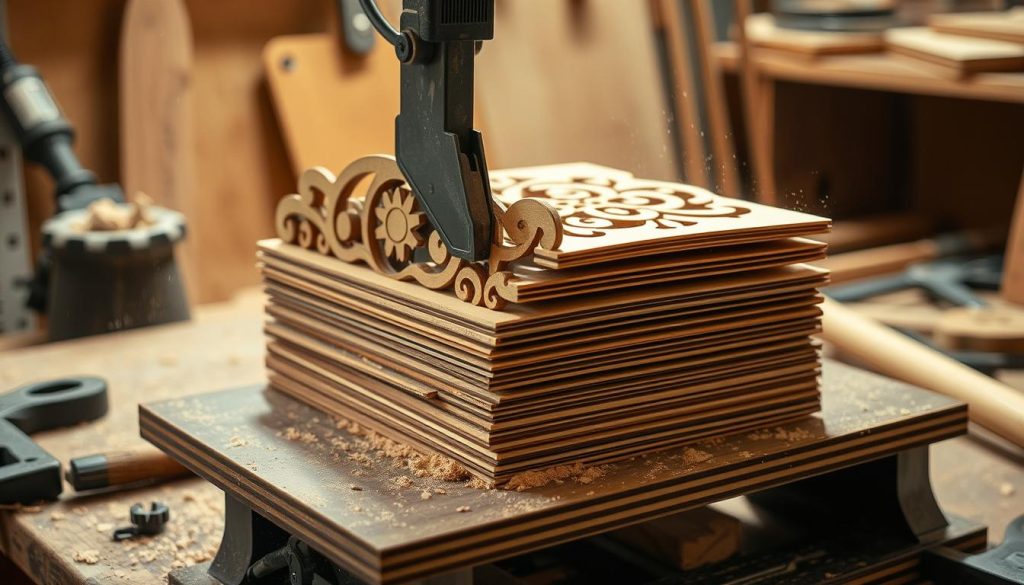
correct way to use a scroll saw
Removing the Blade
When you finish your scroll saw project, make sure to remove the blade correctly. First, turn off the power and unplug the saw. Then, find the blade tension knob and loosen it until the blade is loose.
Next, push up on the throat plate to open the clamps. With the clamps open, you can safely take out the scroll saw blade.
Cleaning the Saw
After removing the blade, clean the saw with a cloth. Pay special attention to the table and blade guides. Remove any dust or debris that built up during use.
This regular scroll saw maintenance keeps your tool in great shape for your next scroll saw project. Don’t forget to clean the scroll saw blade before storing it or putting in a new one.
By following these steps for scroll saw blade removal and cleaning, you can make your saw last longer. Taking the time to maintain your equipment is key to using a scroll saw safely and correctly.

“Proper maintenance is the key to ensuring your scroll saw operates smoothly and safely for years to come.”
Scroll Saw Maintenance
Keeping your scroll saw in good shape is key to its long life and smooth operation. Taking care of your saw means it will last longer and work better. Let’s look at the important steps for scroll saw maintenance. This includes cleaning and lubrication.
Cleaning the Scroll Saw
Cleaning your scroll saw regularly is vital for its best performance. Use a clean, dry cloth to remove dust, debris, or wood chips from the saw’s parts and surface. This is based on the maker’s guidelines.
- Wipe down the table, blade guard, and other parts to keep the saw clean.
- Use a soft-bristled brush to get rid of tough debris in hard spots.
- Make sure the moving parts, like the blade tension and speed knobs, are clear of blockages.
Lubrication
Scroll saw lubrication is also crucial for smooth operation. Put a few drops of lubricant on the right spots as the maker suggests.
- Find the moving parts, such as the blade tension and clamps.
- Put a small amount of lubricant on these parts, but don’t overdo it.
- Remove any extra lubricant to stop it from dripping or attracting dust.
Regular cleaning and lubrication of your scroll saw keeps it running well for a long time. By doing these easy steps, you’ll keep your saw in great shape. This means you’ll get precise, easy cuts for your woodworking projects.
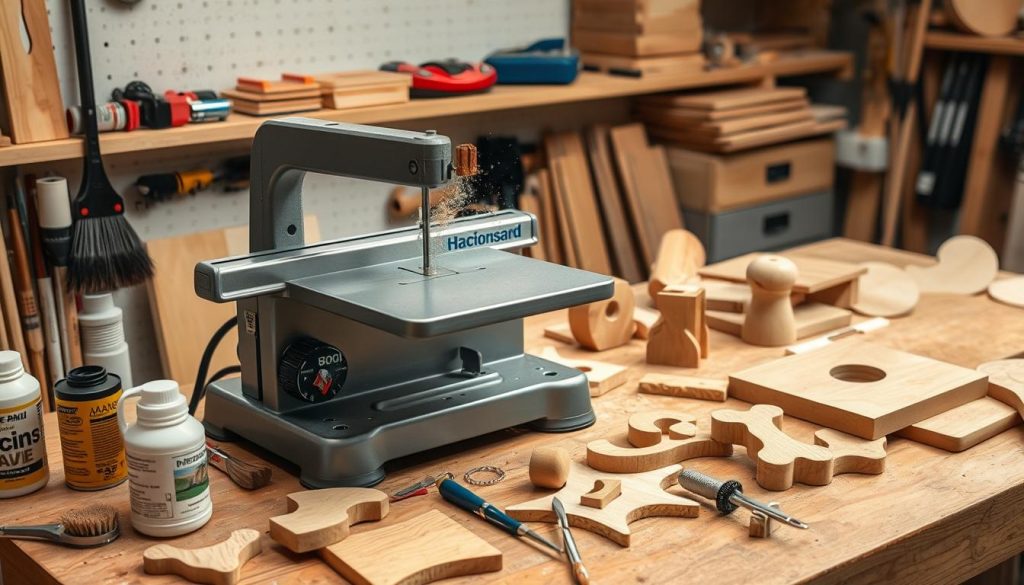
Finishing Scroll Saw Projects
After making your scroll saw project, the last step is to make it look professional. Use sanding to smooth out any rough edges or fuzziness. Start with a coarse grit sandpaper and move to finer grits for a smooth finish.
Next, apply the finish you want to protect and enhance your project. You can choose from vibrant paint, rich stain, or glossy varnish. Make sure to apply the finish evenly for a high-quality look.
Putting your scroll saw project together is just as crucial as the cutting and finishing. Make sure all the pieces fit well and use wood glue or fasteners if needed. A well-assembled project looks better and is more durable.
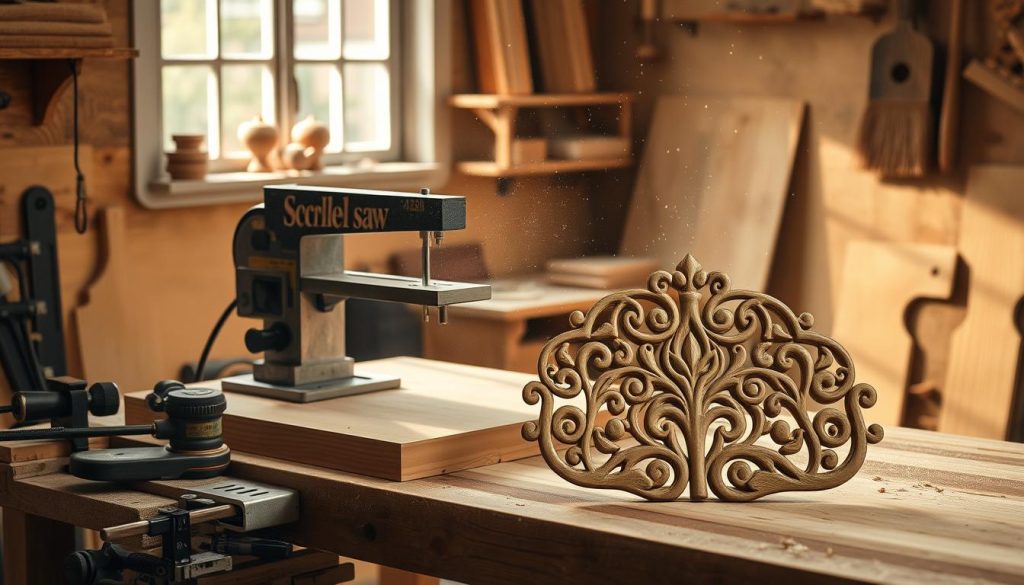
“The devil is in the details when it comes to finishing a scroll saw project. Take your time, and the result will be a true work of art.”
By following these steps, you’ll turn your scroll saw project into a stunning, professional piece. Enjoy the finishing process and be proud of your work. The end result will be amazing.
Scroll Saw Tips and Tricks
Mastering the scroll saw takes practice and learning. As you get better, there are key tips and tricks to help you improve. Let’s look at some important areas to focus on.
Blade Alignment
It’s vital to make sure your scroll saw blade is aligned right for clean cuts. The blade should be square to the saw table, with no more than 1/8-inch of side-to-side deflection. Adjust the blade tension knob and make sure the blade is installed correctly to achieve this.
Sanding Techniques
Always sand your workpiece lightly before starting a scroll saw project. This reduces fuzziness and makes the finish smoother after cutting. Sand gently with fine-grit sandpaper to avoid harming the wood’s surface.
Cutting Thick Wood
Cutting thick wood with a scroll saw can be tough. To avoid burning, cut slowly and make several passes, gradually going deeper each time. Using a lubricant like beeswax or a scroll saw lubricant can also help reduce friction and prevent burning.
Reducing Burning
Burning is a common problem with scroll saws, especially with certain woods or high speeds. To lessen burning, use a slower speed, ensure the blade is properly tensioned, and apply tape or lubricants to the workpiece. A clean and sharp saw blade can also reduce burning.
Using these scroll saw tips and tricks will help you get better results, make more intricate designs, and improve your skills. Remember, patience and continuous learning are key to mastering this versatile tool.
“The scroll saw is a powerful tool, but it requires a delicate touch. By paying attention to these small details, you can unlock its full potential and take your projects to the next level.”
| Scroll Saw Blade Size | Recommended Use |
|---|---|
| Blades 1, 3, and 5 | Thin materials or intricate designs |
| Blades 7, 9, and 12 | Thick or dense materials |
Scroll Saw Project Ideas
The scroll saw is great for many projects, from detailed fretwork to home decor and gifts. Look for inspiration in online galleries, forums, and magazines like Scroll Saw Woodworking & Crafts Magazine.
There are many scroll saw project ideas for all skill levels. You can make simple ornaments or complex 3D sculptures. The scroll saw is a powerful tool for bringing your woodworking dreams to life.
Beginners can start with scroll saw project ideas like Scroll Saw 101 tutorials. These cover the basics and simple cuts. As you get better, try more complex projects like the “Scroll Saw Wooden Nativity” or custom state cut-outs.
Projects for kids, like the “Wooden Paper Doll,” are popular. For more complex pieces, consider making Handmade Custom Corbels or a Broken “House Divided” Sports Sign.
Sentimental scroll saw patterns are also popular. Make a Mother’s Day item or a Scroll Saw Children’s Profile Plaque for personalized keepsakes. The Wooden Monogram Wreath for fall adds festive charm to your home.
The scroll saw has many scroll saw project ideas for all skill levels. Dive in and let your creativity flow. Explore the endless possibilities of this versatile tool.
| Project | Difficulty Level | Recommended Blade |
|---|---|---|
| Scroll Saw Wooden Nativity | Intermediate | #5 Reverse Tooth Blade |
| Custom State Cut-Outs | Intermediate | #5 Reverse Tooth Blade |
| Wooden Paper Doll | Beginner | #5 Reverse Tooth Blade |
| Handmade Custom Corbels | Advanced | #2 Crown Tooth Blade |
| Broken “House Divided” Sports Sign | Intermediate | #5 Reverse Tooth Blade |
| Mother’s Day Scroll Saw Project | Beginner | #5 Reverse Tooth Blade |
| Scroll Saw Children’s Profile Plaque | Intermediate | #3 Crown Tooth Blade |
| Wooden Monogram Wreath | Intermediate | #5 Reverse Tooth Blade |
The table shows a range of scroll saw project ideas, from easy to hard. It also lists the best blades for each project. Choosing the right blade is key to success in scroll sawing. Use this guide for your next project.
Conclusion
Learning to use a scroll saw well takes time and effort. But, the results are amazing. By getting to know your scroll saw, picking the right blades, and improving your cutting skills, you open up a world of creativity. With patience and practice, you’ll get really good at making beautiful woodworking pieces.
If you’re just starting or have been using a scroll saw for a while, there’s always more to learn. Join the scroll saw community, get advice from experts, and keep improving your skills. This will help you become a true scroll saw woodworking expert. The journey might be tough, but the feeling of achievement and the beautiful things you make will be worth it.
So, use the scroll saw expertise you’ve learned from this guide to let your creativity run wild. With the right tools, skills, and love for woodworking, you can do anything. Happy scrolling, and may your future projects show off your hard work and talent.